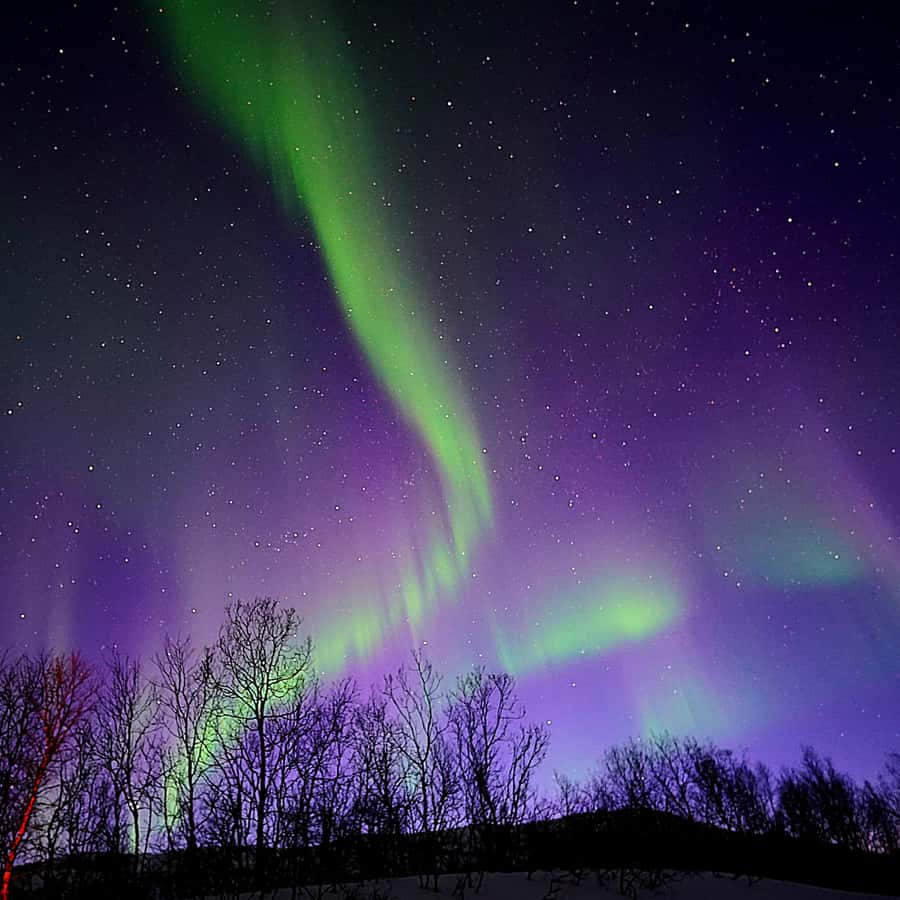
The short answer
- Use a tripod or stable support and turn off flash.
- Focus on a distant light or star, magnify the preview and check sharpness.
- Begin with a wide aperture, ISO around 1600 and several seconds, then review the frame.
- Use a shorter shutter for a fast aurora or a bright foreground.
- A phone in night mode can work when held completely still.
| Sky condition | Starting point | Adjust if needed |
|---|---|---|
| Bright, fast aurora | Short exposure of a few seconds | Reduce ISO to protect detail |
| Moderate display | Wide aperture and several seconds | Review the histogram and focus |
| Faint, slow glow | Longer exposure if stable | Watch for blur and bright foreground |
| Phone night mode | Tripod or steady support | Avoid digital zoom and recheck focus |
Set up the camera before the aurora appears
Put the camera on a stable support, choose manual exposure if available and use a timer or remote release to avoid shaking it. A wide lens includes more of the landscape; shooting RAW gives you more room to adjust the image later.
Clean the lens and turn off flash. Keep your screen and torch dim enough to work safely without lighting someone else’s long exposure.
Focus is the first setting to get right
Autofocus may struggle with a dark sky. Choose a distant light or bright star, enlarge the live view and adjust until it looks crisp. Once focused, switch to manual and check again if the lens or tripod moves.
Do not rely on turning the focus ring to the infinity mark. A sharp test frame saves you from discovering later that the whole series is soft.
A camera starting point, then three adjustments
Open the lens aperture, start near ISO 1600 and try a shutter of several seconds. Review the result. Shorten the exposure if bright aurora moves quickly; lengthen it cautiously for a faint, slower glow while watching for blurred stars.
Snow, moonlight and city glow can brighten the scene. Reduce ISO or time when highlights wash out. These are starting points, not fixed settings for every camera and sky.
Can a phone photograph the northern lights?
A recent phone can record a bright display in night mode. Rest it on a tripod or stable surface, clean the lens, avoid digital zoom and use a timer if touching the screen causes shake.
Night mode may combine several frames, so a fast curtain can look softer than it did to your eye. Take more than one photograph and check the detail before changing position.
Composition and cold-weather mistakes
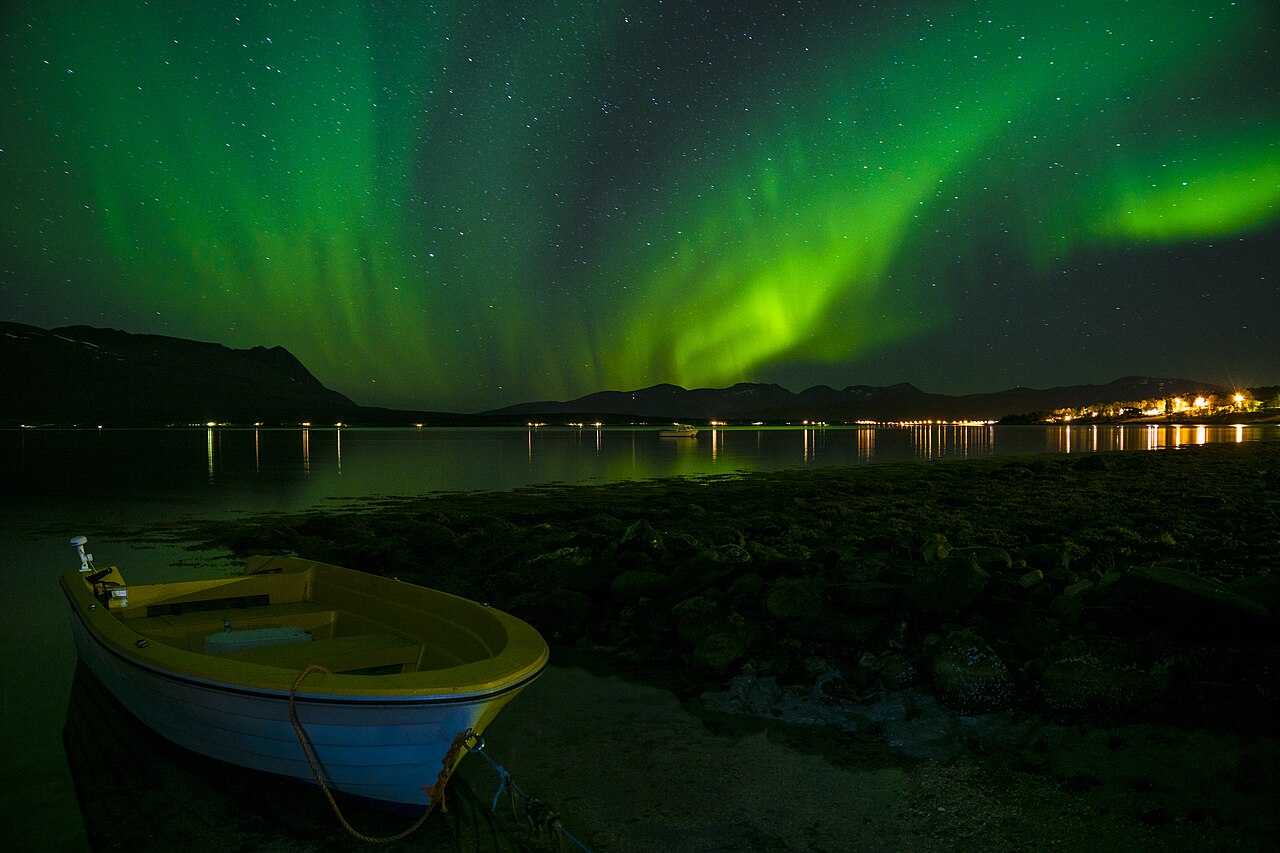
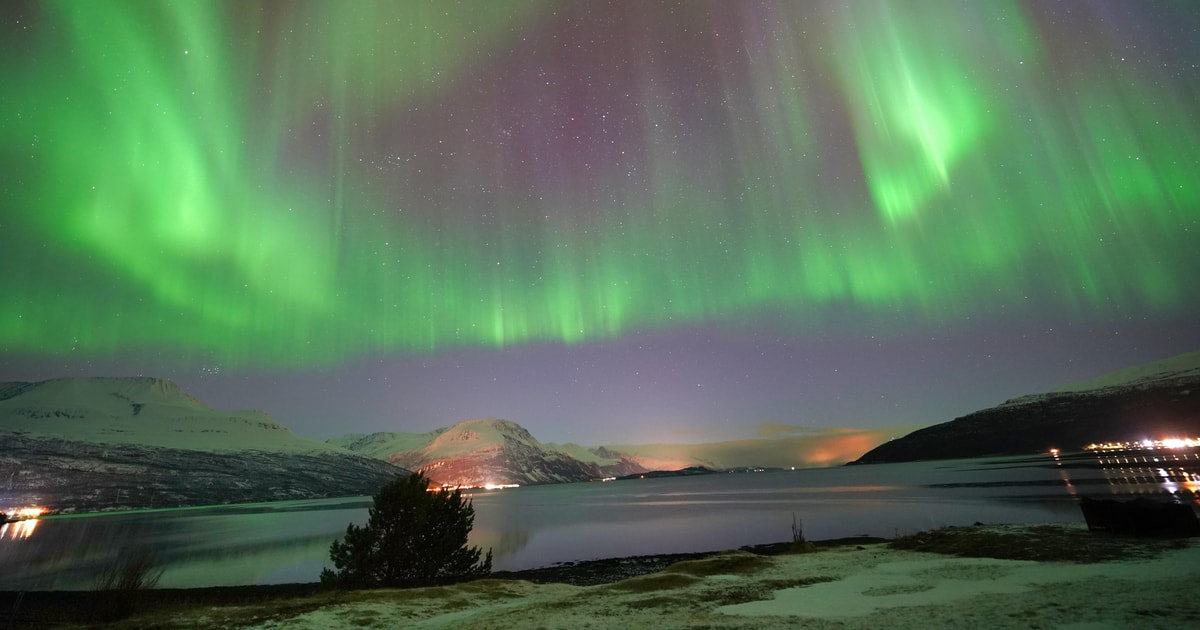
A shoreline or mountain gives the lights scale. Keep the horizon level and leave room for the aurora to move, but do not cross unsafe ground or stand on a road to recreate a photograph.
Cold shortens battery life. Keep spares warm against your body, avoid breathing on the lens and put the camera in a closed bag before taking it into a warm room to reduce condensation.
When photography help on a tour is useful
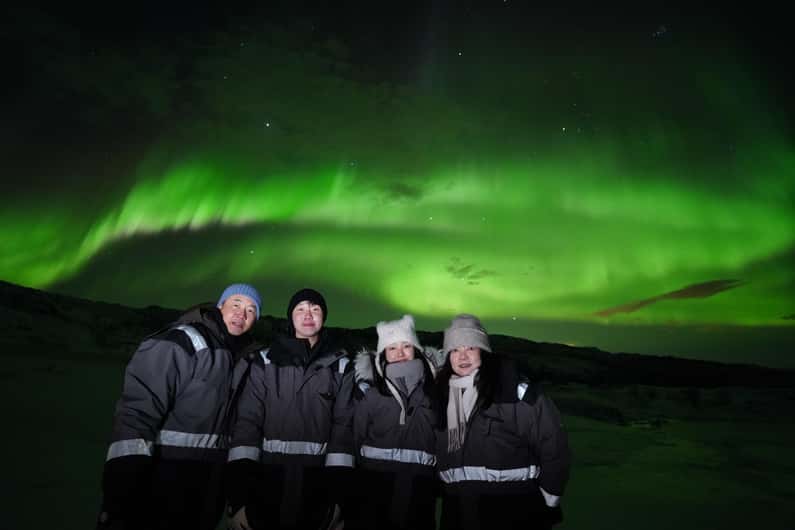
A tour may help with camera setup, lend a tripod or provide guide-taken portraits. Read the specific product to find out which service is included; “photos” may mean something different from one listing to another.
If you are learning, ask how much individual help the group size allows. If you know your camera, choose the outing by route and comfort instead. Neither option can guarantee an aurora.
Relevant activities
Compare a photo-focused evening
Check whether the exact tour includes camera instruction or only guide-taken photos.
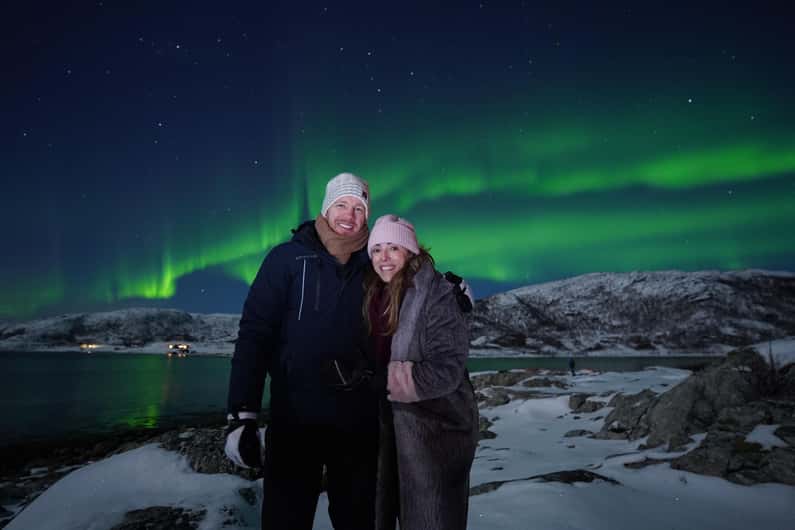 Smaller road chaseLong-range small-group northern lights chaseA flexible route and smaller group; ask how much individual camera help is offered.From €152 per personCheck availability ↗︎
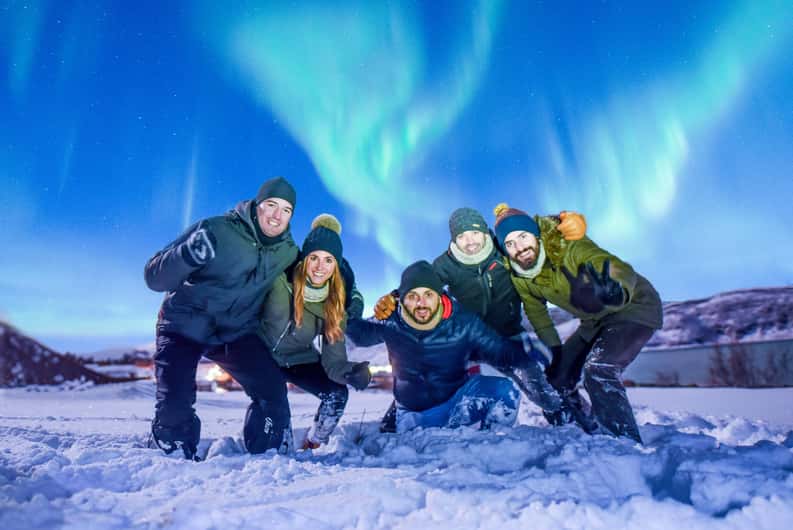 Shared aurora safariNorthern lights safari with photosCheck the listed photo service, group size and equipment for your date.From €57 per personCheck availability ↗︎
Primary sources
Conditions and public information can change. These sources were reviewed on 10 October 2026.
Nikon: practical northern lights photography techniques ↗︎Yr: current aurora and cloud guidance ↗︎Common questions
FAQ
What camera settings should I start with for the northern lights?
Try a wide aperture, ISO around 1600 and a shutter of several seconds, then adjust for brightness and movement. These are starting points, not fixed settings.
What shutter speed works for a fast aurora?
A bright, fast-moving curtain usually needs a shorter exposure of a few seconds to retain detail. Review each frame.
Should I use autofocus at night?
Manual focus checked on a distant light or star is usually more reliable. Magnify the preview to confirm sharpness.
Can I photograph the northern lights with a phone?
Yes, especially with a recent phone in night mode and a stable support. Avoid zoom and expect moving lights to look softer.
Do I need a tripod?
A stable tripod or support greatly improves multi-second exposures and keeps both the sky and foreground sharper.
Do photography tours provide camera help?
Some do, while others only supply guide-taken photos. Check the exact product for instruction, tripod and image inclusions.
Next decision
Find tours with photography support
Compare the photography help and equipment actually included, along with the tour’s route and return time.
Compare options